User interface
Configuration of the RTU-X is done using a graphical user interface that runs on any PC with Windows 10 or higher, or Linux (Ubuntu distribution). The application is used to connect to a device by selecting one of the available connection modes (see Connection to the RTU-X below), or in offline mode.
Interface sections
Once connected, the side menu organizes the device's configuration into the following sections:
- Home — operational summary of the device (see Device information below).
- I/O — digital and analog inputs and outputs, and LEDs.
- Communications — LAN, Serial and Modbus, Modem, Bluetooth / NTP, MQTT, and LoRa.
- Log — the device's historical records.
- SMS — predefined messages and enabled numbers.
- Calendar events — events associated with
calendartype variables. - Script — editor, variables, and execution control.
- Maintenance — real-time debug, firmware update, event cloning, and crash log.
Online Mode
In online mode, all the information displayed on the screen is that found on the device the application is connected to, and any changes made are saved to that device as well.
While in online mode, two new buttons appear in every user interface window: Apply and Update. After making any changes, you must press the Apply button to save the changes to the device. If you make an unwanted change to the configuration (that hasn't been applied yet), the Update button reloads the device's configuration on the screen.
In online mode, icons are available that let you import and export the complete configuration of a device. The export button creates a complete backup of the device in a .json file. The load button takes a .json file and loads it onto the connected device.
Always save the configuration of a device after installing it in its final location. That way, if the device ever needs to be replaced for any reason, a new device can easily be configured just like the previous one.
Offline Mode
Offline mode lets you work on the configuration of any RTU-X unit without needing to be connected to it, allowing you to comfortably open, save, and edit every aspect of the configuration.
In offline mode, icons are available that let you open and save a configuration to a .json file, which can then be used to load onto a device in online mode.
Connection to the RTU-X
The first thing you need to configure in the interface to connect to the device is the connection type. You can connect to the RTU-X in the following ways:
TCP/IP
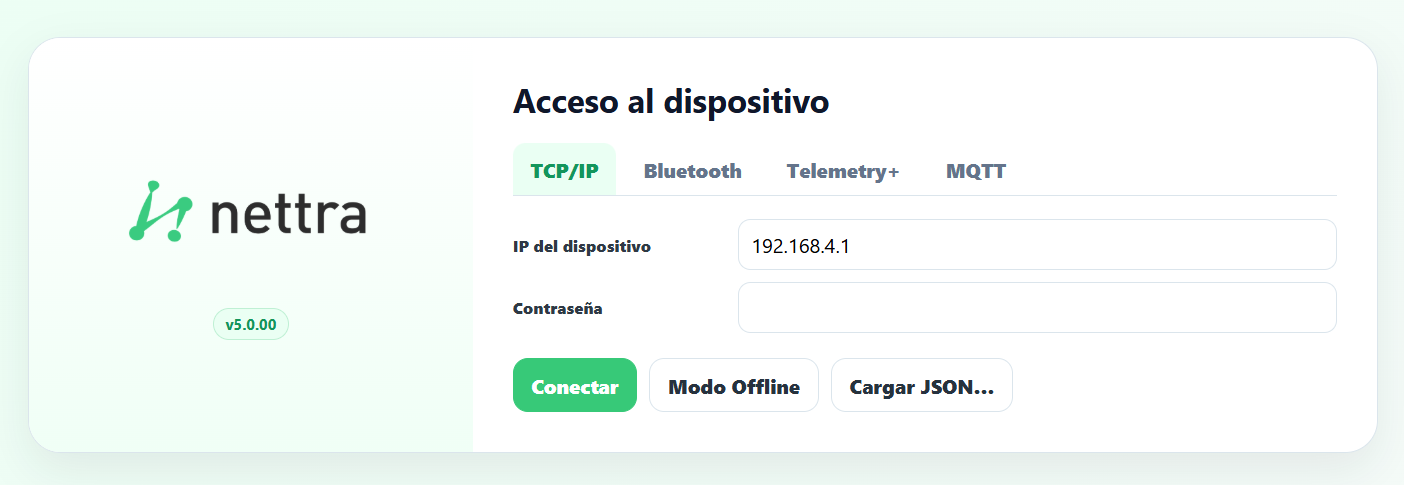
You must specify the device's IP and the password (password by default, see Default passwords). This is the usual connection method when the RTU-X is on its own access point (192.168.4.1) or already connected to a WiFi/Ethernet network.
Bluetooth
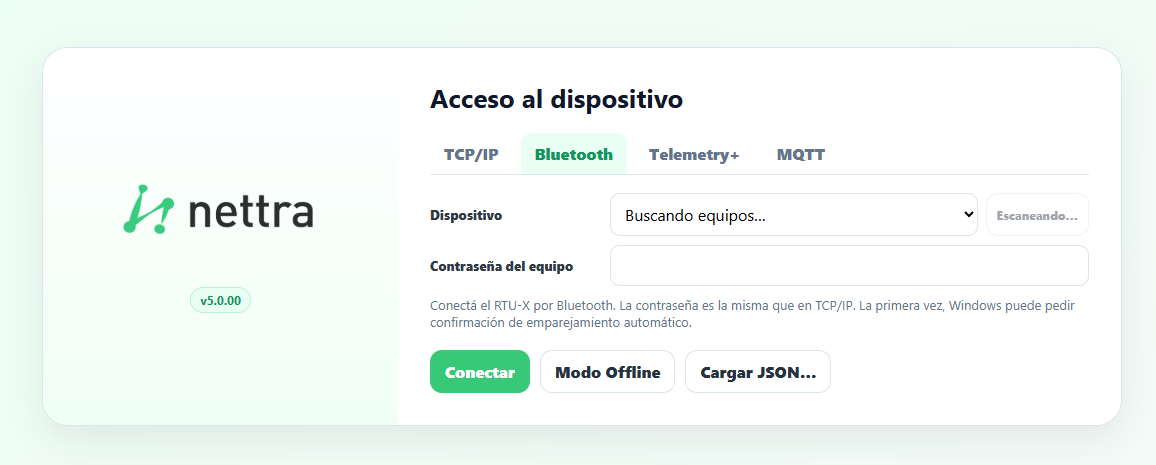
The software can scan for devices. You must select the RTU-X you want to connect to from the list and enter the device's password (the same one used for TCP/IP). The first time, Windows may ask you to confirm automatic pairing or for the Bluetooth PIN (123456 by default).
Telemetry+
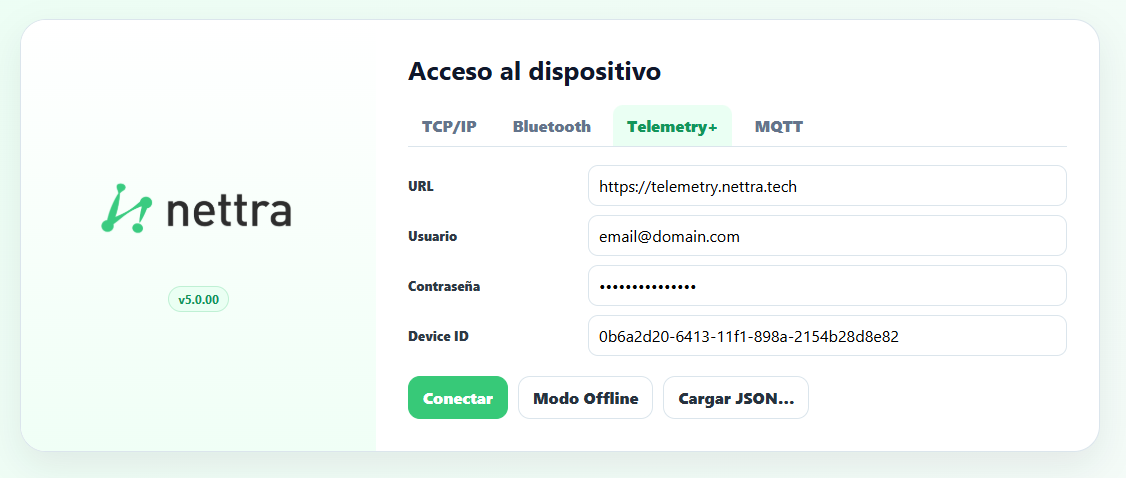
Used when the RTU-X is connected to Nettra's Telemetry+ system. It requires the server's URL, the username and password used to log into the system, and the RTU-X's Device ID. This last piece of information is provided by the Nettra support team if remote connection is included in the contracted plan.
MQTT
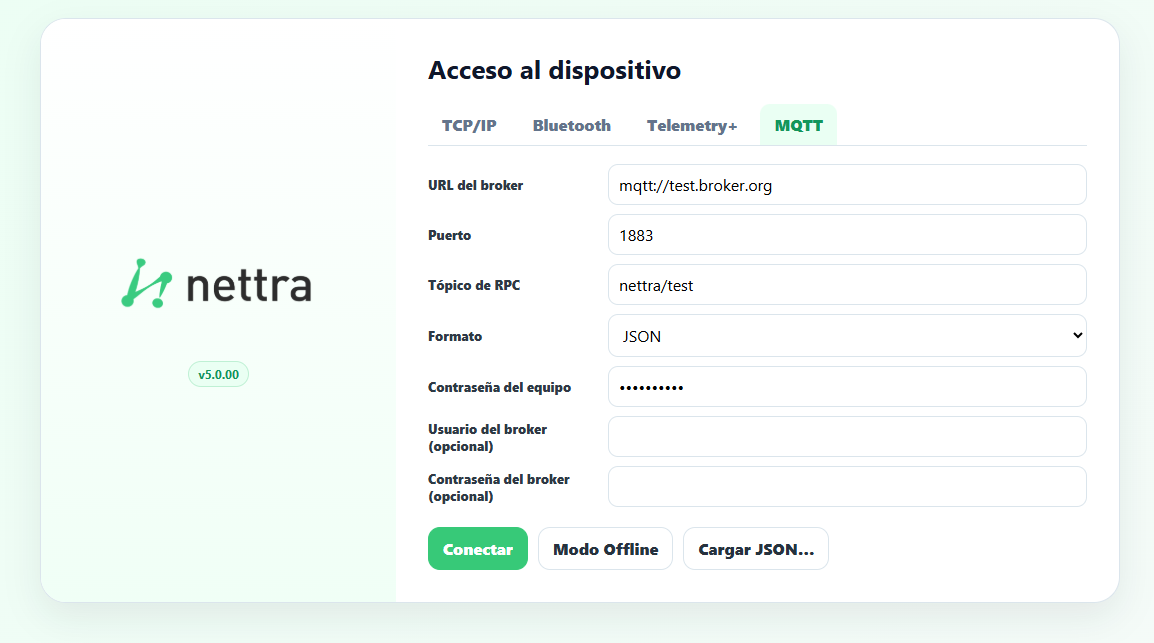
Many IoT platforms use an external MQTT broker to connect to remote devices. When the RTU-X is connected to an MQTT broker over a TCP/IP network (WiFi, Ethernet, or cellular modem), this option lets you connect the configuration application to that same broker (Broker URL, Port, RPC Topic, Format) and use the RPC topic to manage it remotely. Since the connection to the broker is established by the remote device, this connection mode is useful even when the RTU-X's IP address isn't known or the device is behind a firewall.
Device information
Once the connection is configured and established, the Home section displays a complete operational summary of the device:
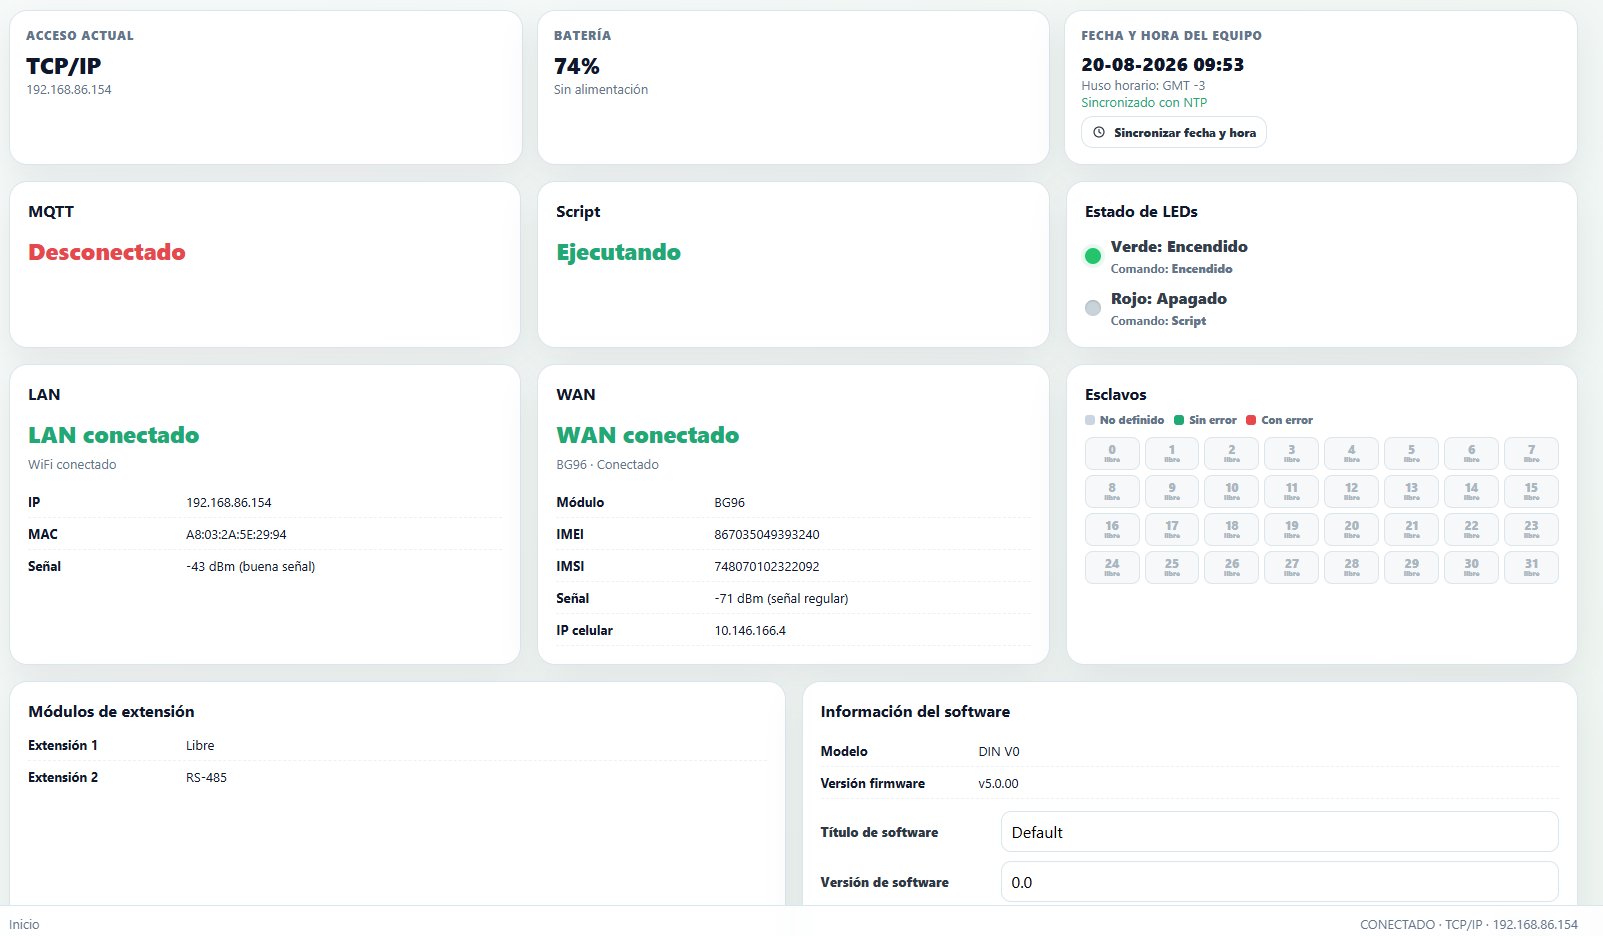
- Current access — active connection type (TCP/IP, Bluetooth, etc.) and its corresponding IP or address.
- Battery — charge percentage and power status.
- Device date and time — timezone and NTP sync status, with a button to sync the device's date and time from the PC's clock.
- MQTT and Script — status of the MQTT connection and of the script (Running / Stopped).
- LED status — configured mode for the green LED and the red LED.
- LAN and WAN — status of the WiFi/Ethernet connection and of the cellular modem, with IP, MAC/IMEI/IMSI, and signal level as applicable.
- Slaves — grid showing the status of each configured Modbus/BLE slave (undefined, no error, or with error).
- Extension modules — which module is installed in each extension socket.
- Software information — model, firmware version, and version/title of the software loaded on the device.